Game Development / Final Project
16.12.24 - 12.01.25 / Week 13 - Week 15
Name: ALYSSA AISYAH BINTI 'ARIEF NASRAN (0364017)
Name: ALYSSA AISYAH BINTI 'ARIEF NASRAN (0364017)
BDCM
Game Development (DST61104) INSTRUCTIONS
FINAL PROJECT
Final Game
For the final project of game development, we are to finalise our game by integrating our art assets to our game development and produce a fully functional and playable game.
Process
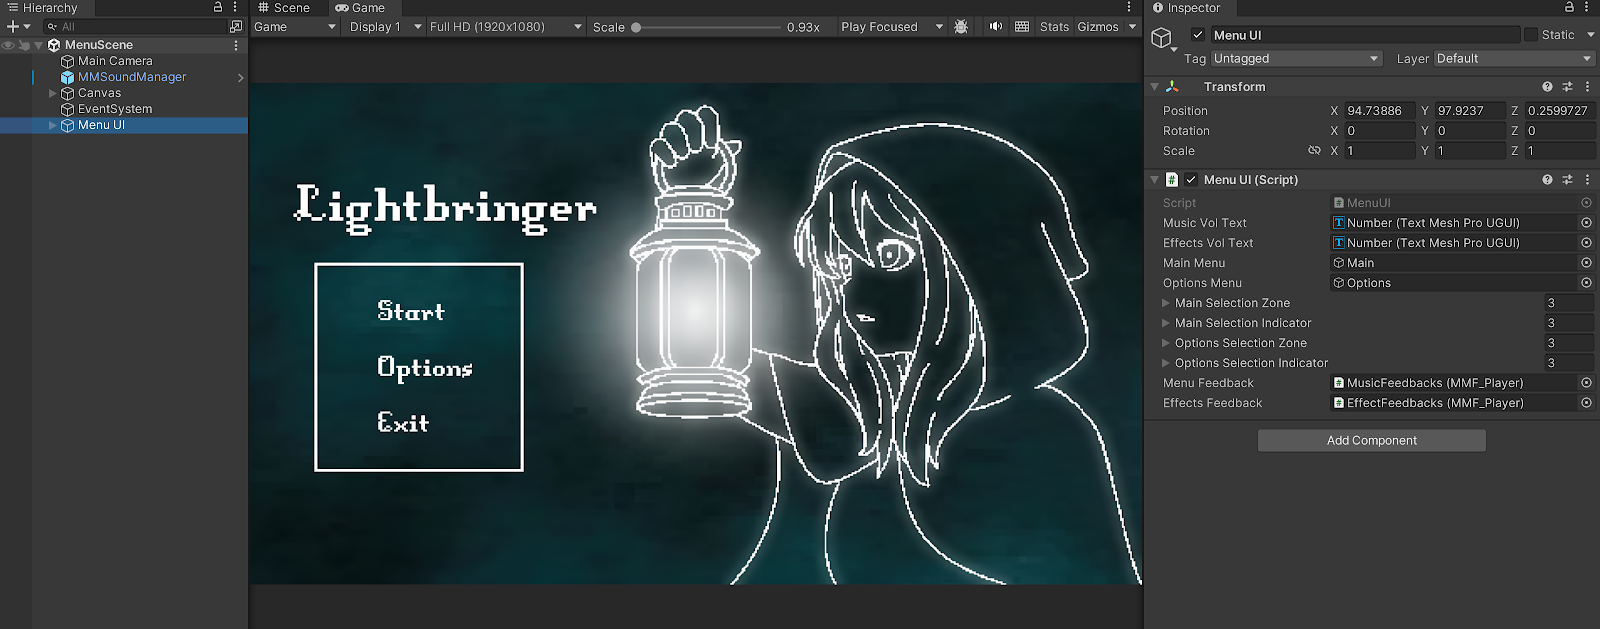
Firstly, I did the title screen menu + how to play screen of my game following the design I created from before of it, then did the scripting for it. I used these fonts I found online throughout my game for the UI text elements.
Heading - https://vrtxrry.itch.io/dungeonfont
When you hover over the different texts in the menu with your mouse, there will be the highlighted box around it. Clicking on start brings you to the first cutscene video, and then once it ends or once you skip the cutscene with RMB, it will bring the player to the first level, clicking on options allows the player to adjust the music and sfx volume, while clicking on exit allows the player to exit out of the game. I've also added in the menu music for the menu.
Fig 0.1 Title Screen Menu
Fig 0.2 Title Screen Menu Mouse Hover
Fig 0.3 Title Screen Menu Script
Fig 0.4 Title Screen Music + SFX Script
To create the first cutscene (intro), I used adobe premiere pro, and exported it as a video into unity. It details the backstory lore of the game, which has Lucia's voice talking over a black screen with text that slowly rolls up. Lucia is voice acted by me, and I added a reverb to make it sound a bit more atmospheric, and the lantern image to fade in and out upon the mention of the lantern.
Fig 0.6 Creation of Intro Cutscene Lantern Fade
Then, I made the video as a scene in unity and created the script for it to play when you click on "start" in the menu.
Fig 0.8 Intro Cutscene Script
As I had already finished level 1 and done most of the scripting and work for the main mechanics of my game, All I had to do left was level 2 and 3 and design the levels for them, and create the mechanics for the boss.
Level 2
Like the first level, the second and third level opens up with the text with the same scripting from before, and the UI meters of the player are displayed too.
Fig 0.9 Text + UI for Level 2
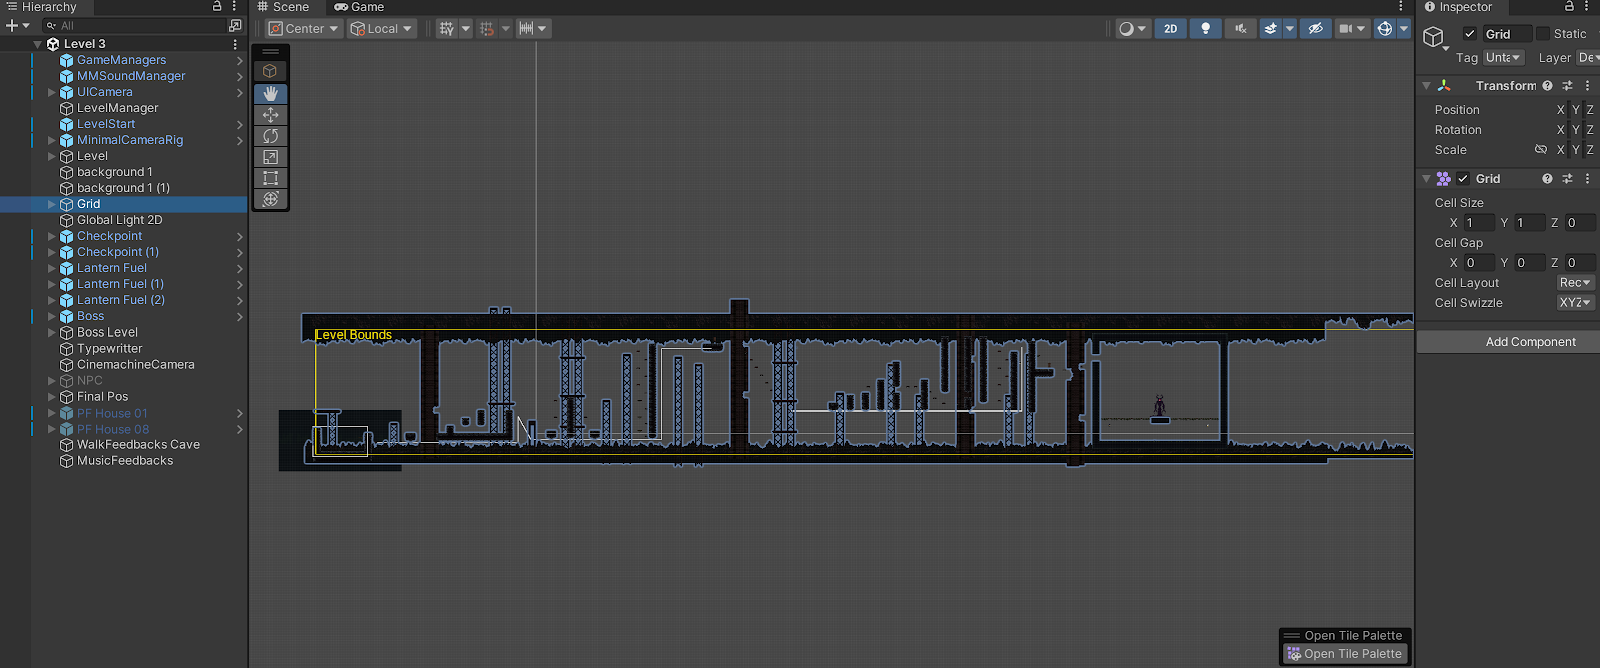
I started building the design of the level the same way I did with the first level, by making the tilemaps for it so I could just draw it onto the scene using the grid. I also did the same for the 3rd level.
Fig 1.1 Tilemaps for Level 3
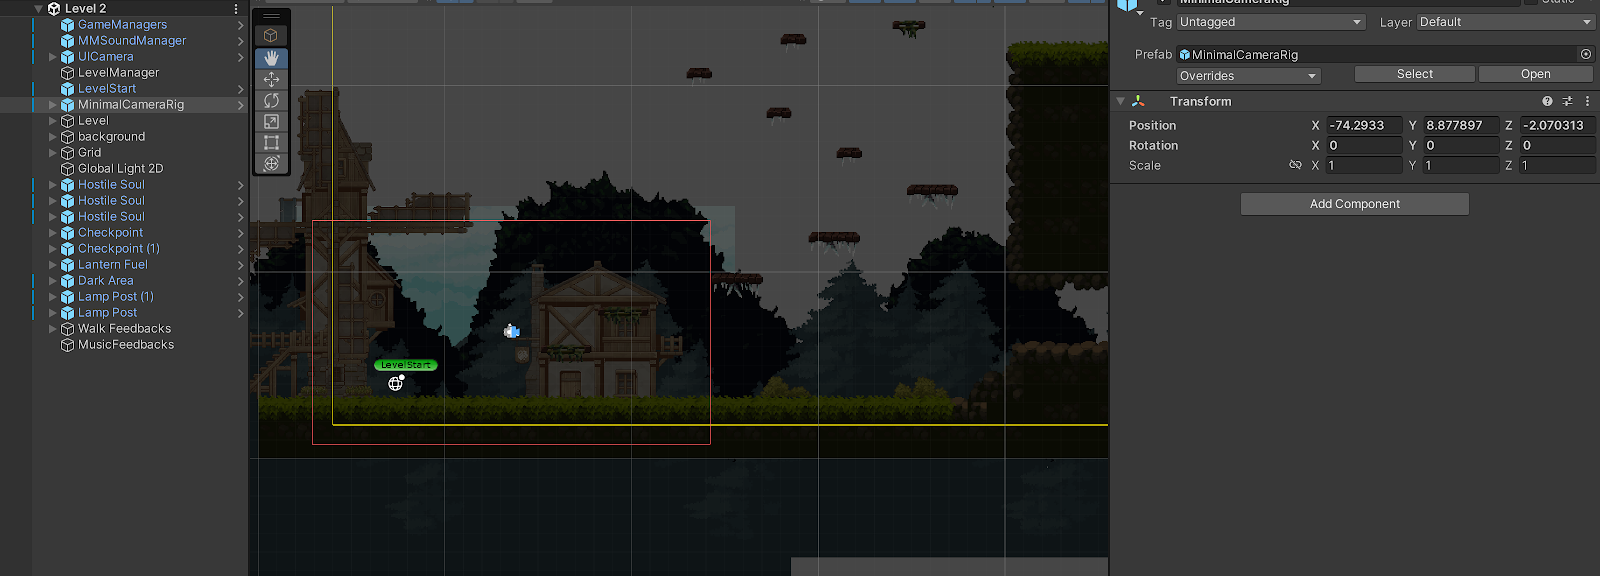
Fig 1.2 Adding Spawn Point + Camera Rig to Player
Fig 1.3 Background Attachment to Player Camera
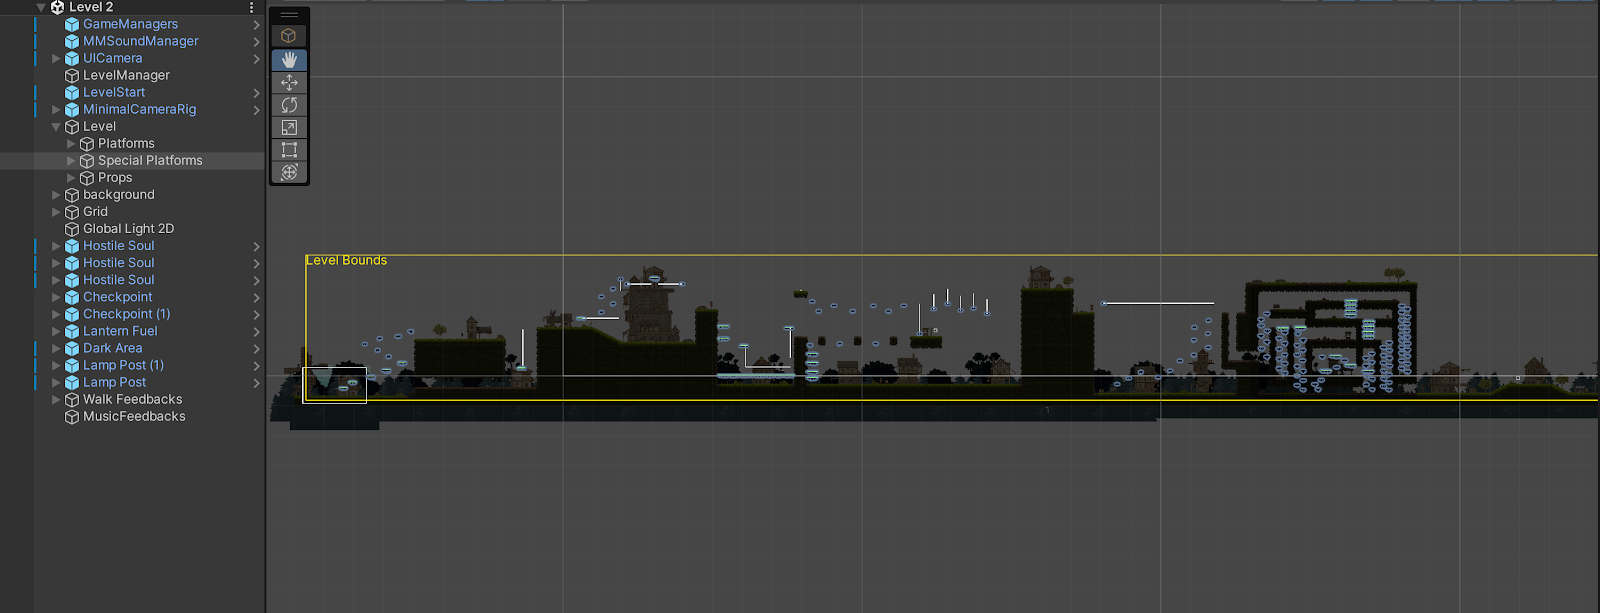
Then, I created the design of the level, first with the static platforming for the game, then the special moving/falling/phaseable platforms. With the moving platforms, and ones with conditionals, I had to set the settings for them and the axis they move in. Like for the first section, where the conditional is to purify (defeat) the hostile first, and then only will the platform move up. Then I added in the props into the level and houses to create the village design.
Fig 1.4 Static Platforms Level 2
Fig 1.5 Special Platforms Level 2
Fig 1.6 Creating Axis for Moving Platforms + Adding Conditionals
Fig 1.8 Adding in Hostile Souls
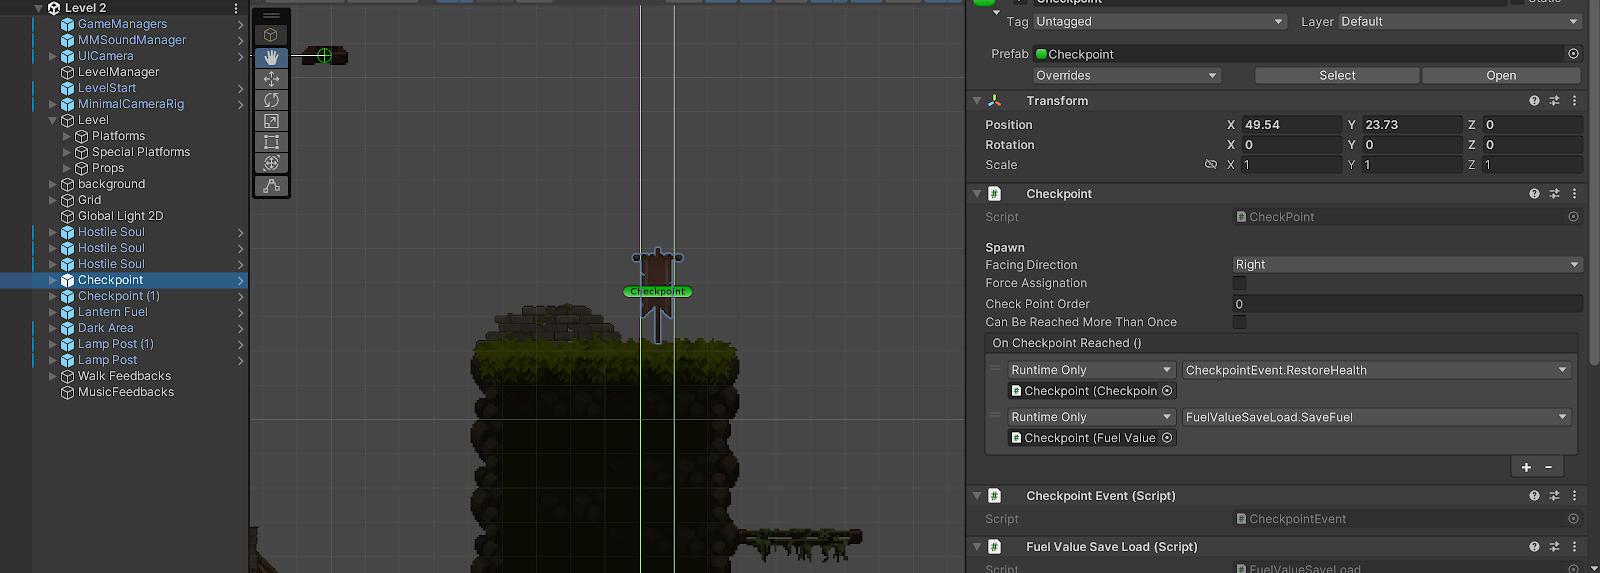
Fig 1.9 Adding in Checkpoints
Fig 2.0 Adding in Lamp Posts
Fig 2.1 Fuel Canister Pick Ups
For the dark area of this level, I wanted to do something different than the last level which included the moving platforms, so this time, I used the phaseable platforms I had and made a maze the player will have to navigate. I also thought currently the phaseable platforms with the S + Space button doesn't show up a lot in the the first level at all, so I thought to make it more prominent here so the feature wouldn't be useless. Like last time, I set the bounds and lighting for the dark area, utilising the same script so that the player takes hits to their sanity meter when in this area if they don't have their lantern light on.
Fig 2.2 Creation of Dark Area Maze
I then added in the last lamp post, which like last time lights up the entire scene utilising the URP global light, once the circular meter is filled when the player interacts with E, and brings the player to the next level after a bit.
Fig 2.3 Adding in Lamp Post
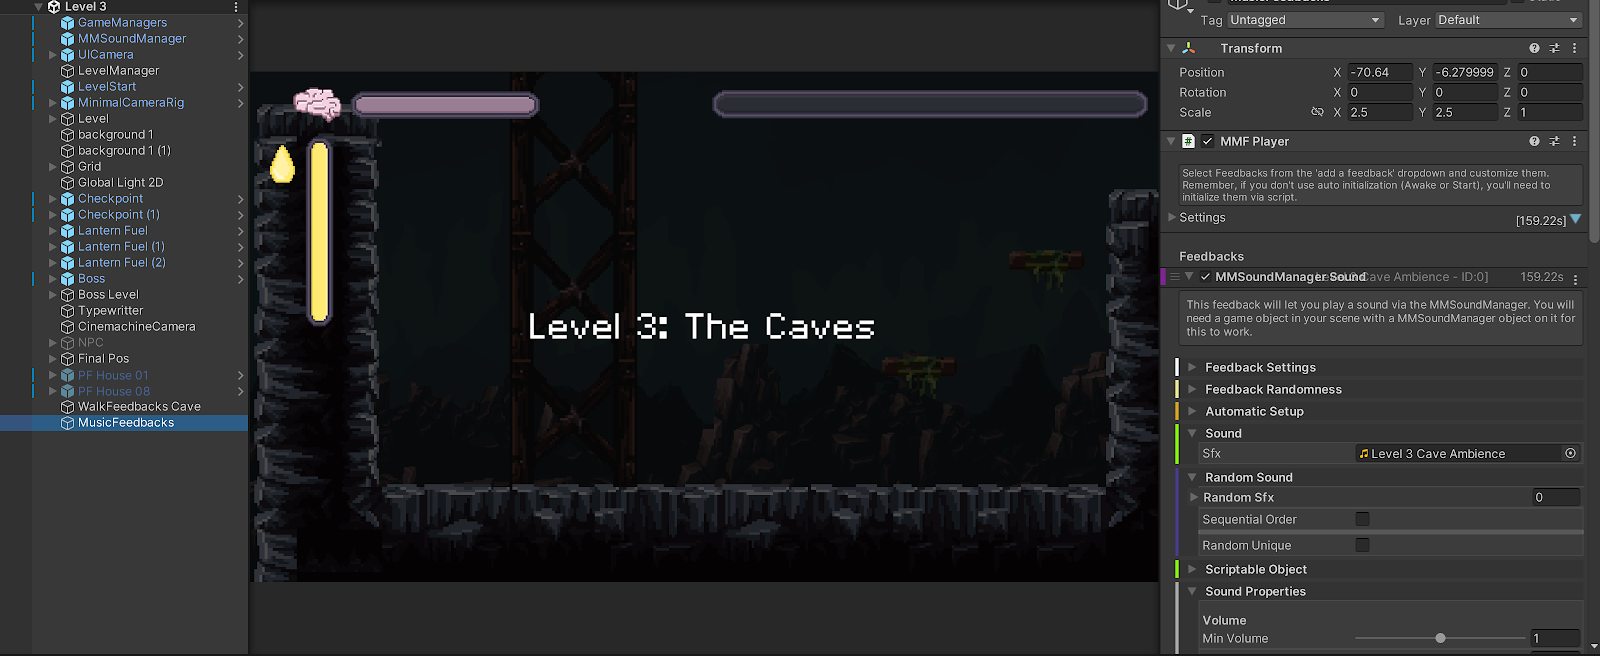
Lastly, I added the sound of the game the same way I did so in level 1, using the MMSoundManager, but this time since my level had 2 surfaces (grass and cobble) I had to tag the surfaces for the different zones (whether its grass or cobble) which led to many children objects and was a bit confusing to keep track of, though the scripting was less stressful since its handled through the player enter + the walk feedback script i created before in level 1.
Fig 2.9 Text + UI for Level 3
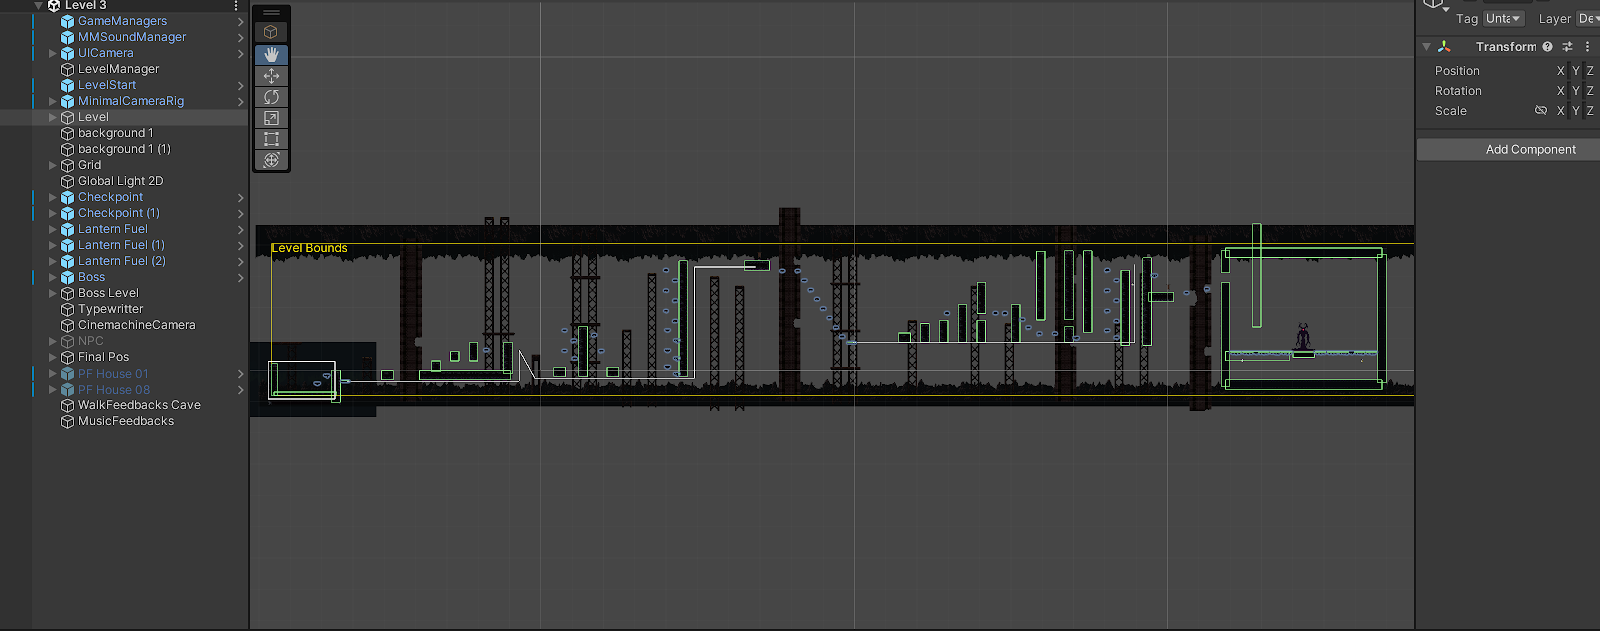
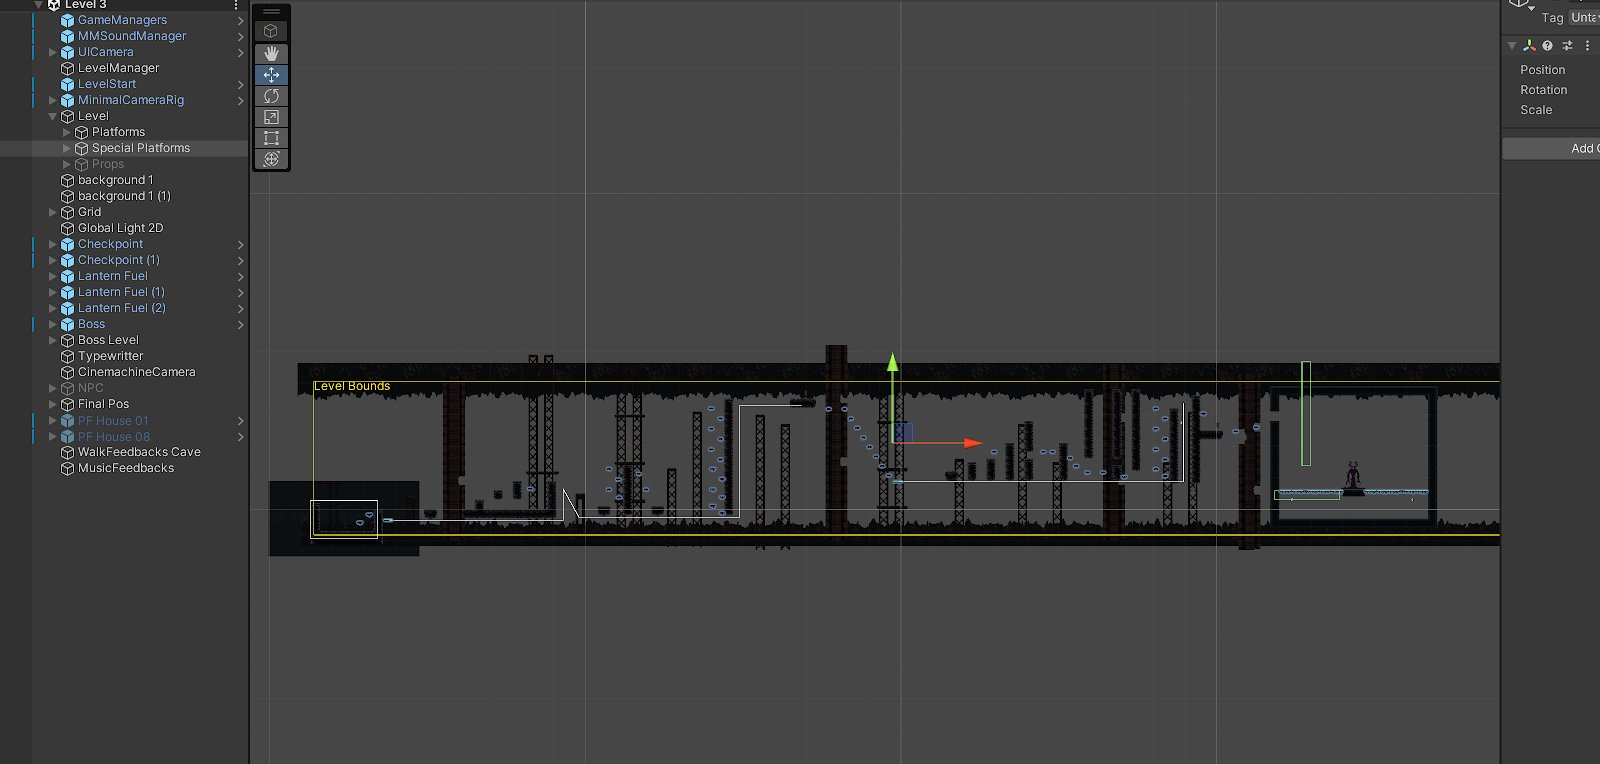
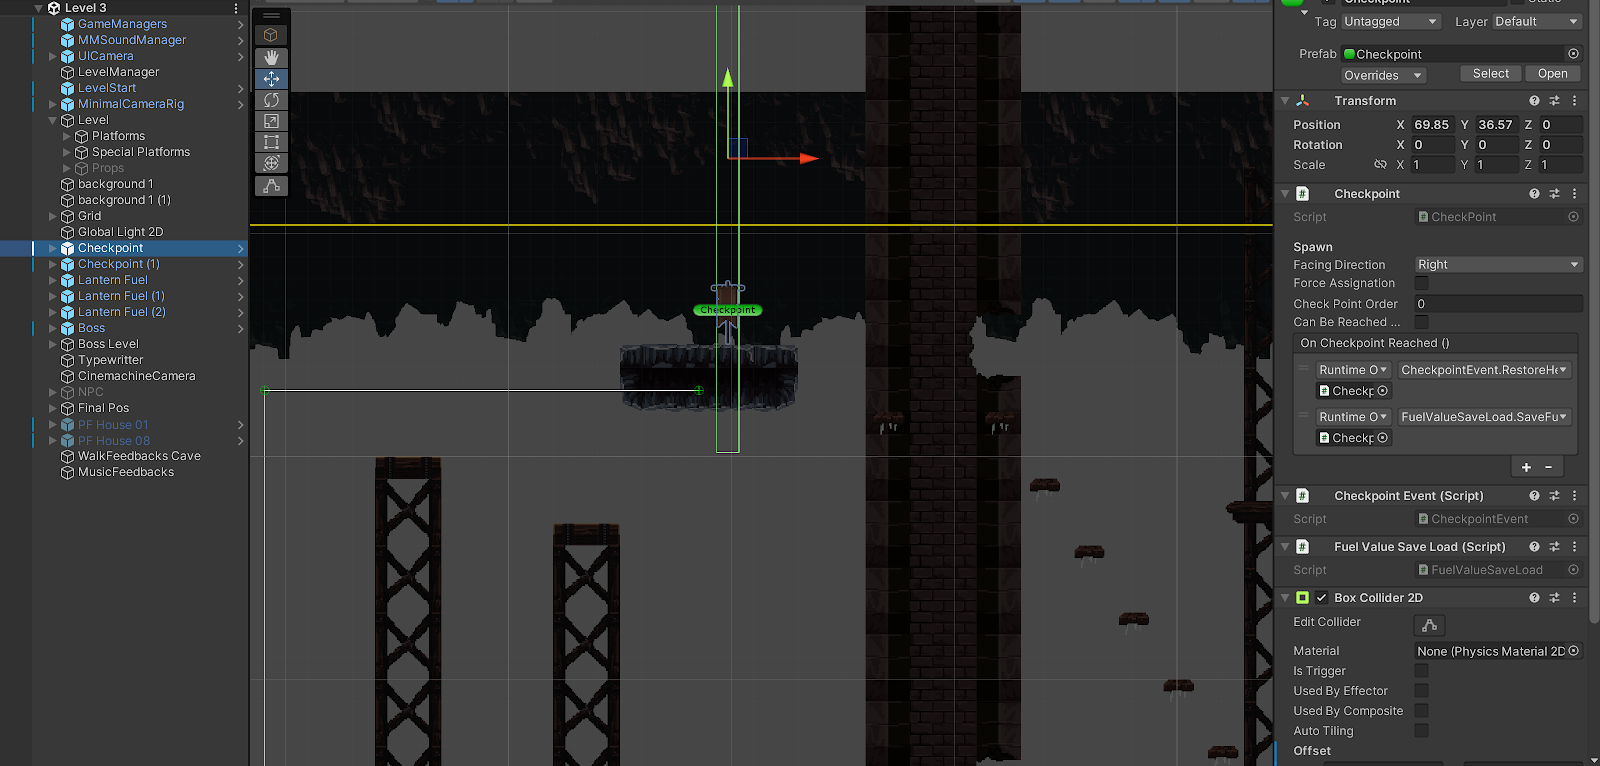
Then I created the platforming and design of the level, with the static platforms, special platforms (moving/falling/phaseable) and setting the axis for the moving platforms. I wanted the platforming of this level to be more difficult, since its the final level, also because there's no hostile souls, dark areas, or lamp posts in the level as the only the only threat left to the player is the boss, so when I added the checkpoints I made them more spaced out, and made the moving platforms non loopable (as in, they only move once across the axis of the points I set), so if the player misses it, they will have to restart from the last claimed checkpoint since the moving platform helps them to get to the next area of the level.
Fig 3.0 Design of Level 3
Fig 3.1 Static Platforms Level 3
Then I created the boss animations and the boss arena zone and deposited the boss into the center of the zone. When the player enters in range of the boss, the 2nd cutscene will play, which is of Lucia meeting the boss. Here, I have utilised the Lucia dialogue box asset and created the text to have a writing out effect utilising this tutorial, you may also skip the dialogue using LMB. I also made it so that the camera zooms out to showcase the boss during the cutscene. At first, the floor platform of the boss will be visible to the player when they enter the zone, then, it will disappear when the cutscene is finished playing and then the new platforms that are scattered in the arena will spawn that the player can jump on to dodge the boss's attacks. Additionally, after testing, I realised that it would be useful to have lantern fuel canisters pick ups in the arena too, so that the player isn't completely doomed if they are low on fuel during the fight.
Fig 3.6 Creating Boss Arena + Adding in Boss
Fig 3.7 Cutscene 2 "Meeting the Darkness"
Fig 3.8 Cutscene 2 "Meeting the Darkness" Script
Fig 4.0 Platforming for Boss Arena Script
Then, I made the boss attacks. The boss has two kinds of attacks, which are the small projectiles, and the big projectiles. The small projectiles occur more frequently and do moderate damage to the player sanity, while the big projectiles are less frequent but do more damage. All projectiles follow the players movement, but disappear after some time, and ive also set the movement speed for the projectiles to be quite fast, since it is the last challenge to the player so I thought the fight should be more difficult.
Lastly, when you defeat the boss, the screen fades to white, into the final cutscene, where you meet the purified souls of the hostile souls you purified in levels 1 and 2, which states the conclusion of the game, having the characters at the end thank Lucia for freeing them from the darkness, and includes dialogue of all the characters utilising the same "writing-out" text effect with all the dialogue boxes of each character. The build of this the cutscene is hidden initially in behind the boss arena for efficiency sake and appears only after you defeat the boss, then the build for cave level gets removed in the final cutscene. I've also turned down the opacity of each character since they are meant to be "souls".
Fig 4.6 Final Cutscene Dialogue Script
I have it set in the script so that after all the dialogue finishes playing, each NPC character sprite fades away one by one, and the screen fades to black and then goes back to the title screen menu, where the player can then replay the game, or exit out of it.
Lastly, I added in the rest of the sfx, ambience, and music for the level and ending cutscene using the MMSound Manager.
Final Game
Full Game Walkthrough
Updated Game Design Document
Playable WebGL
https://gamejolt.com/games/lightbringer/964555 (Please wait 20 seconds for the game to load, and to adjust screen size use Ctrl + or - to make it bigger or smaller)
REFLECTION
Developing my game has been a challenging yet highly rewarding experience, I am very satisfied with the final outcome and grateful at the opportunity to do so. This module in general really allowed me to apply my creativity and technical skills and combine them together to bring my game vision to life. One of the most fulfilling parts of this process was seeing the initial title screen menu come to life, it really felt like a real game then. Adding the interactive elements in general for the game gave made it seem more "alive" to me, it was always exciting when I finally got my code to work for something in my game, even though it was the most strenuous part of the process.
It was also a very rewarding feeling when I got all my sounds to work in game, since it added an extra layer of atmosphere, and set the tone for the dark and immersive world I aimed to create. One of the most interesting parts of the game development process is in the utilisation of the 2D URP lighting in unity, it made my idea of my light-based game properly come to life. The boss battle too was one of the highlights of my work, as it required careful design and scripting to make it engaging and challenging. Balancing the difficulty of the boss's projectile attacks and the platforming mechanics tested my ability to create gameplay that is tough but fair, such as adding fuel canister pickups in the boss arena- which was a strategic decision to enhance playability, ensuring players weren't unfairly punished if they ran out of resources mid-fight.
Creating the cutscenes also tied everything together narrative wise for me. At first, for the final cutscene I had it so that all of the NPCs would fade together, but I decided to make them fade one by one, and this simple change made it a more impactful experience, the final dialogue brought a sense of closure to the narrative, tying together the story's themes of redemption and resolution, and the transition back to the title screen, where players could reflect on their journey or start again, felt like a fitting conclusion to the experience.
The entire experience of this module, although tough, was a really good opportunity in a lesson about iteration, attention to detail, debugging, etc. When creating a game, you really have to consider every single aspect. In the end I managed to make a cohesive game that I'm proud of. Moving forward, I hope to create more games, since it is something I am definitely highly interested in.













Comments
Post a Comment