Game Development / Game Prototype
20.11.24 - 16.12.24 / Week 9 - Week 12
Name: ALYSSA AISYAH BINTI 'ARIEF NASRAN (0364017)
BDCM
Game Development (DST61104) INSTRUCTIONS
TASK 3
Game Prototype
For the third task of game development, we are to make a prototype of our game to quickly test out the game mechanics and to troubleshoot any technical difficulties discovered during the development. The focus should be the MVP of our game.
Sound Design
I gathered a bunch of different music, ambience, and sfx for my game online using multiple sites and edited the length of them so they could fit my game for when its looped. For some I also edited the speed/pitch to fit better with the certain objects in the game, or layered multiple sound files on top of another to achieve the certain sound I wanted for something.
Music/Ambience
Level 1: Forest Ambience - https://www.youtube.com/watch?v=coPN2irc9a4
Level 2: Village Ambience - https://www.youtube.com/watch?v=2FpLYU8HoIo
Level 3: Cave Ambience - https://www.youtube.com/watch?v=1nS7vjVUjBg
Menu Title Screen - https://pixabay.com/sound-effects/mysterious-144734/
SFX
Grass Walk - https://www.soundsnap.com/147_foley_footsteps_grass_dry_sneaker_walk_fast_run_jog_close_wav
Cave Walk - https://www.soundsnap.com/sportshoes_floor_run
Cobble Walk - https://www.soundsnap.com/footstep_121
Boss Music - https://youtu.be/mxIoO_oRwCk
Lantern Beam - https://pixabay.com/sound-effects/space-laser-38082/
Lantern Attack - https://www.soundsnap.com/foley_lantern_shake_movement_01
Process
For this task, I wanted to create the 1st level of my game, which is "The Forest"
For help in some of the scripting, I used the corgi engine provided by unity. To start I first started with cutting my assets using 96x96, and then creating the animations for them. It was difficult since I realised to have a fully smooth flowing game, i needed more animations such as Lucia with her lantern light on when she is idle, and etc, but to resolve this i simply used a single frame from the animations I already have created to create the other states and connect them. Then I made the movements and controls of the game and connected it to the player and player animations.
Controls:
- A & D to move and space + S to phase through platforms
- Space to Jump
- E to interact with lamp post
- Hold down LMB for primary attack
- RMB for secondary attack
The primary attack (luminous flux) slowly drains the fuel meter, and does moderate damage while the secondary attack (light beam) takes a portion of the fuel from the lantern fuel meter, but more of a significant amount than the primary attack, however, it does more damage than the primary attack.
Fig 0.1 Lucia Animator
I also have adjusted the speed accordingly for each of her animations and have also attached the light luminous flux (primary attack) to each one and adjusted the position so that its fixed to the middle of her lantern. To create the glowing light effect of the luminous flux effect, i used unity's 2D light feature using the URP, then adjusted the hitbox to be within the circle radius.
Fig 0.4 Lucia Animations
I've also utilised the 2D Light feature and added a global light onto the scene, so that everything is dark. This is because later on, I have it so when the player interacts with the lamp post and lights it, the scene will turn bright, thus the brightness is turned up for the entire scene. I then added the spawn point of the player for the first level (where they initially start)
Fig 0.5 Spawn Point + Unity Lighting
Then I deposited the backgrounds for the first level, for ease of efficiency, I made it so that it follows the players camera as well with a script instead of manually placing the background on the scene itself since the entire scene background will be the same.
Fig 0.6 Camera Rig + Background Attachment to Player Camera
Additionally, I also created tilemaps out of the tiling assets for the environment as it would be more efficient to draw on for each scene and didn't want to spend a lot of time putting it manually.
Fig 0.8 Creation of Tilemap Palette
Then, I added on the rest of the background layering
Fig 0.9 Adding Backgrounds
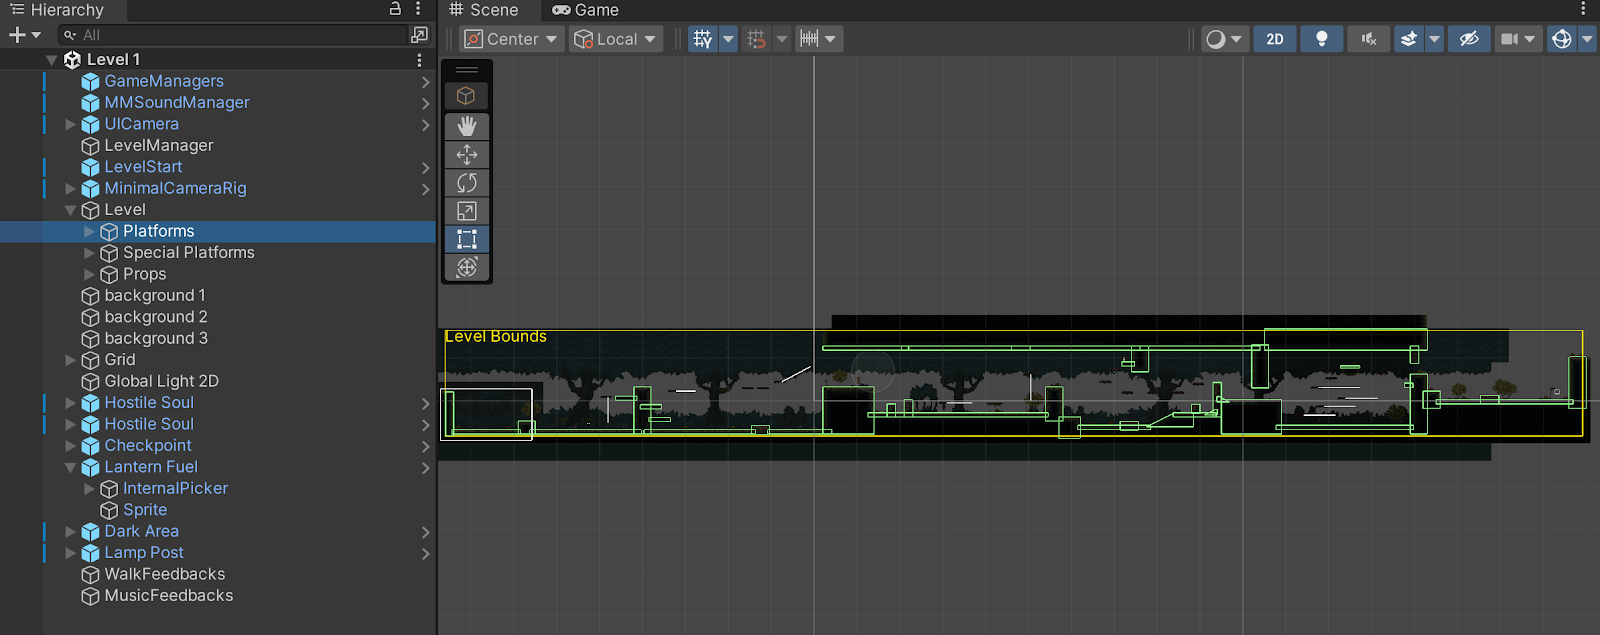
After that I moved onto the platforming for the level. I made it so that some platforms you can phase through since if not, the player will just bump their head on them when trying to jump. These are the static platforms which don't move. I also have created a level bounds, so that the player isn't able to fall/clip through the level in any way when exploring areas. Then I added props so that the level doesn't look boring.
Fig 1.0 Defining Level Bounds + Static Platforms
Fig 1.1 Level Props
Next, I added the special platforms of the game, which are the moving/falling/phaseable platforms.
Fig 1.3 Creating Axis for Moving Platforms
Fig 1.5 Falling Platforms
Fig 1.6 Falling Platforms Script
Then, I created the the hostile soul animations, and the script for them, which follows the player when the player is in range of them, when in range of the hostile soul, it plays their attack animation, and they will chase the player. Upon collision with the player, the player loses a portion of their sanity, and when in radius of the luminous flux/upon collision of the lantern beam the hostile soul loses a portion of their darkness meter, i've also made it so that the correct animations are played during each event. I also added in the meters for the player (sanity + lantern fuel) and attached the darkness meter on top of the hostile soul so that players may see how much darkness is left to fully purify a hostile soul.
Fig 1.8 Hostile Souls
Fig 1.9 Soul Script
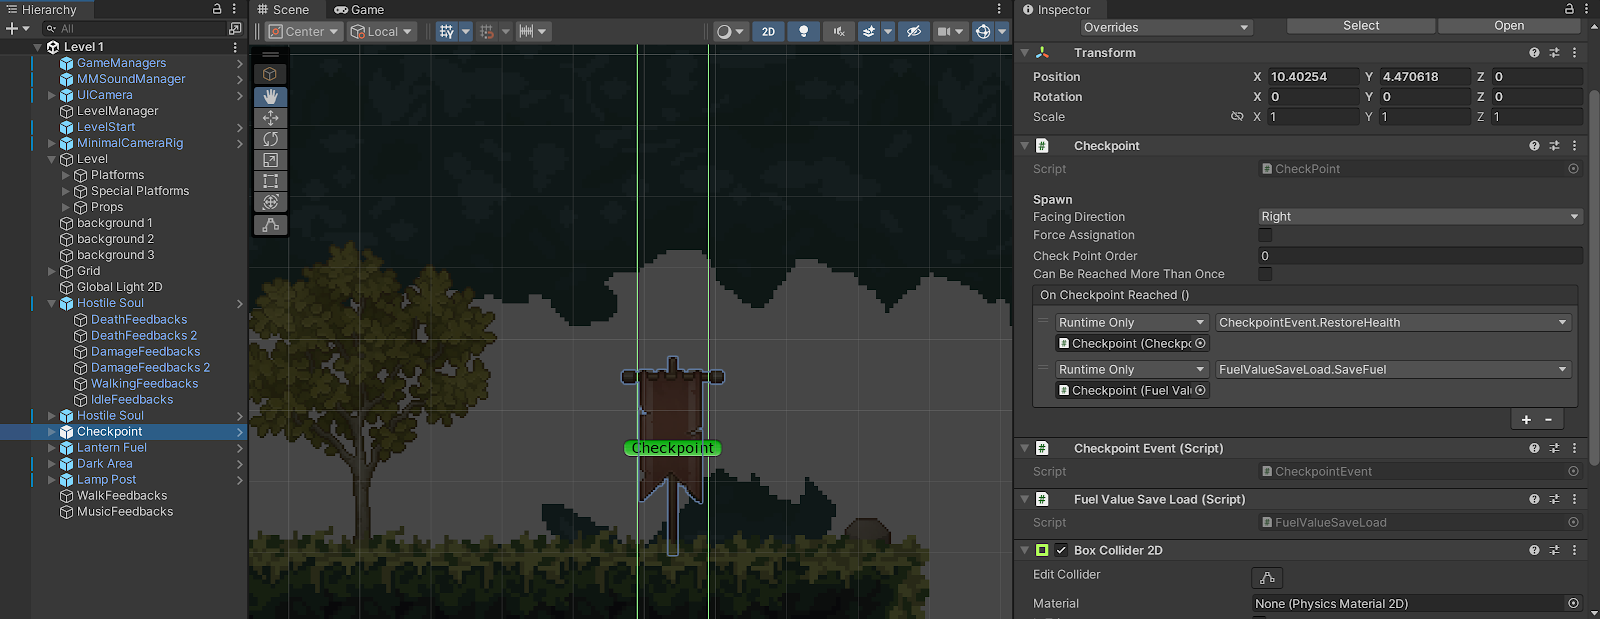
Then, I added in the checkpoints and created the scripts for it. Whenever the player reaches the checkpoint, their sanity meter will restore back to full, and respawn at the last claimed checkpoint. However, it doesn't restore fuel, and I found that I had to create a script so that it actually saves the lantern fuel that the player has used thus far.
Fig 2.2 Checkpoints
Fig 2.3 Checkpoint Script
Fig 2.4 Save Fuel Script
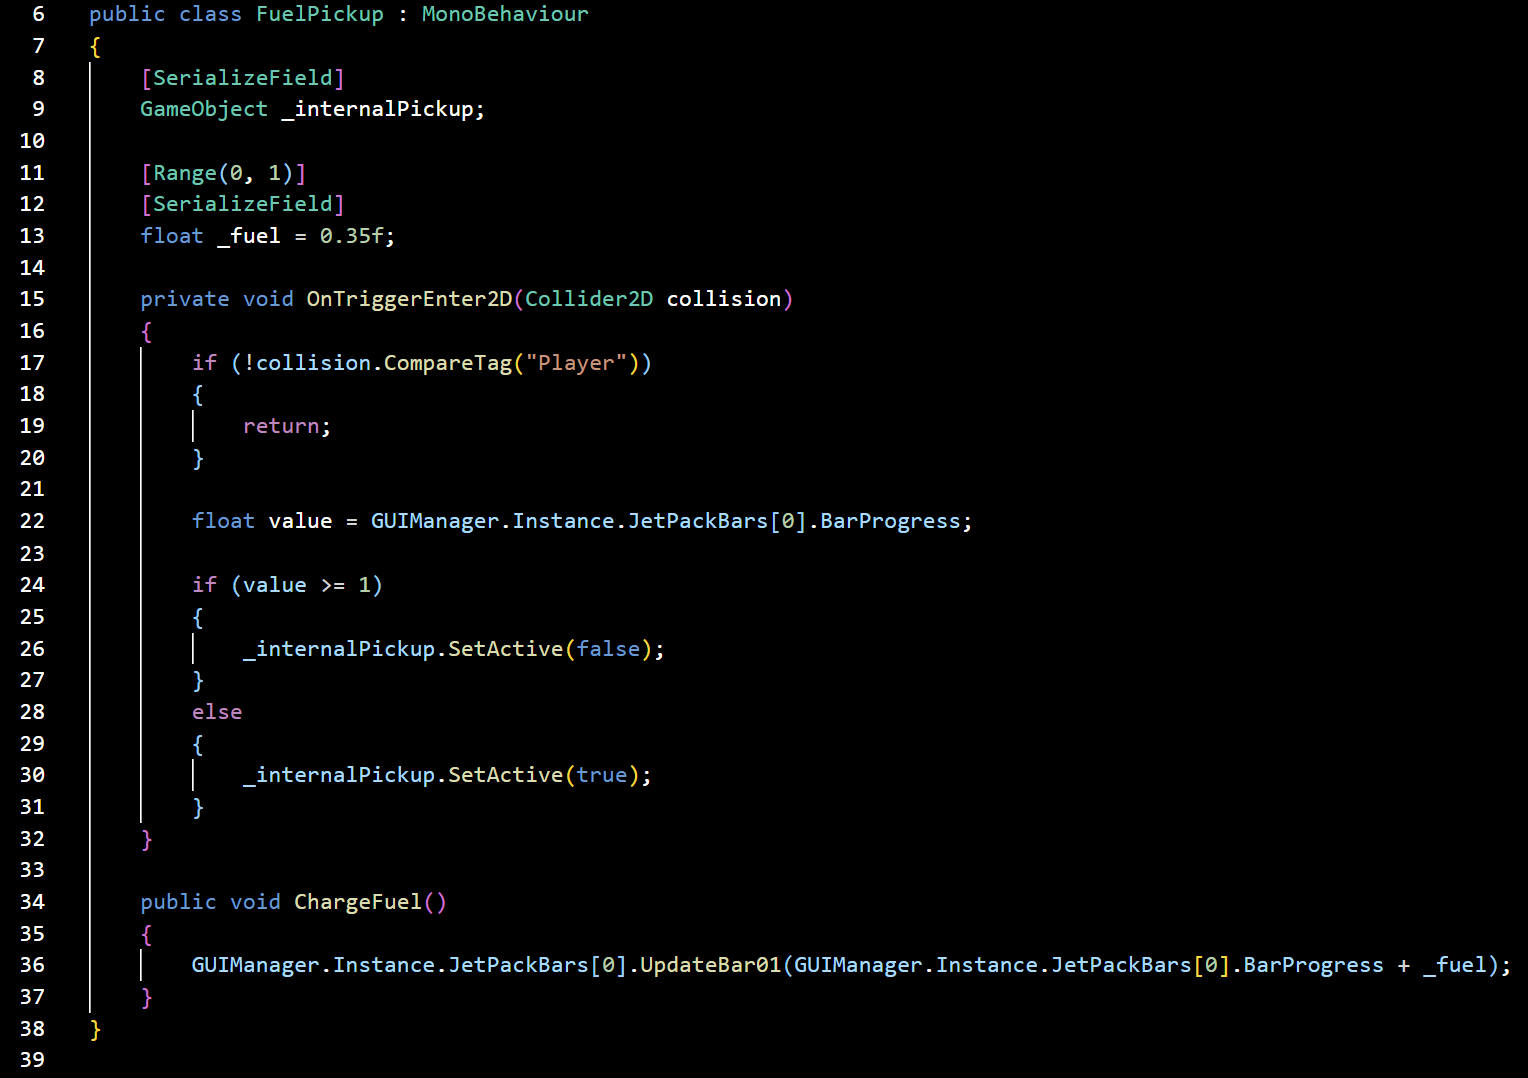
I also added the lantern fuel canister pick-ups and created the scripts for them. It is consumable upon pickup, and restores a portion of the lantern fuel meter but only if the player has has some portion of their lantern fuel meter depleted. If not, then they wont pick it up. I also had to ensure that they respawn whenever the player dies.
Fig 2.9 Dark Area Script
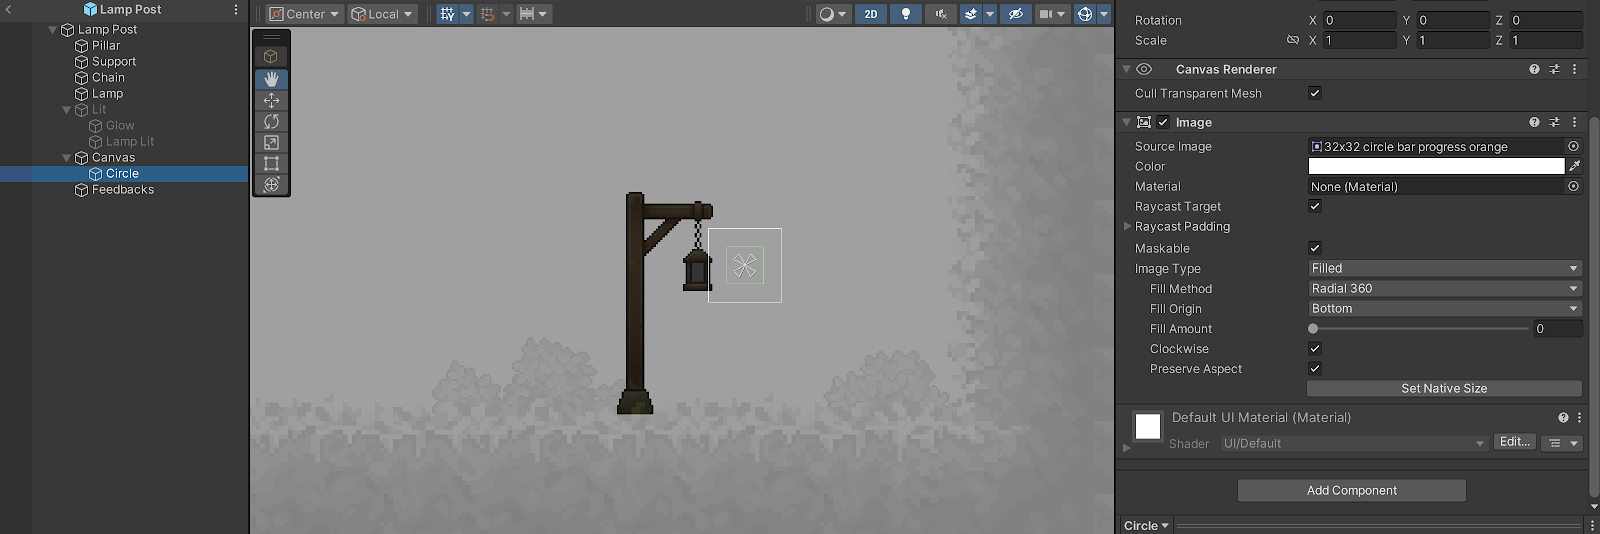
Next, for the lamp post (the main objective of levels 1 and 2), I placed it at the end of the scene, and attached the the circular meter asset for it next to the lamp light, however, it remains hidden until the player uses E to interact with the lamp post in order to relight the lamp post. When holding down E, the circular meter will slowly fill up, and the lamp post will change states from the un-lit to the lit state. I've also used the particle system to add a glow to the lamp when the player successfully relights it, and when the lamp post is lit, the entire scene lights up, and after some time, the player moves onto the next level automatically and the screen fades to black.
Fig 3.0 Attaching Circular Meter to Lamp Post
Fig 3.1 Handling Lamp Post Lighting
Fig 3.2 Lamp Post Script
I then added the title of the level when you first enter the level to appear with a black screen, and then fade out into the level scene.
For the audio, I used the MMSound Manager system + tutorial which is built on unity's audio mixer to add in my audio files for the scene and ensured that it loops, however, for certain sfx, such as the lantern fuel canister pick ups, it will only play once.
Since I had different walking sfx for different levels/surfaces, I had to create a separate script for the walkfeedback to change between them based on the scene/surface.
Final Game Prototype
REFLECTION
Developing the prototype for my game was an extremely long winded but engaging process that allowed me to explore various aspects of game design and development, from mechanics, and animations, to sound design, and scripting. It was really tough since sometimes I would run into bugs that didn't make sense to me, even though I followed the tutorial just as intended, but luckily there are tools online and even in-ide-helpers which help with coding. Part of the longer processes was gathering all the sfx from different sources on the internet too, then editing them and exporting them into files to be used for unity, and figuring out how to play them for the relevant game objects or events. I learned a lot about C# with this project. I'm glad I was able to nail the initial mechanics of my game first, so I have less work to complete in the final project. I aim to refine the prototype, polish visuals, and fine-tune gameplay to deliver a compelling final product.


Comments
Post a Comment